I have never found this type of hatches attractive. It is perhaps due to their white plasticky feel; they undoubtedly come with plenty of practical advantages but in my opinion they hardly match the look and feel of a traditionally inspired wooden boat. Now, don't get me wrong,this is a very personal point of view and there are scores of beautiful homebuilt wooden boats out there using this practical solution to great effect.
In my previous build (Janas) I admit using plastic watertight hatches.... I have however installed them under hinged wooden lids to keep them out of sight. There is one in the aft locker and one cut out in the little foredeck. The teak strips are glued on top of the ""vanity lid" that hides the white plastic giving continuity to the decks.
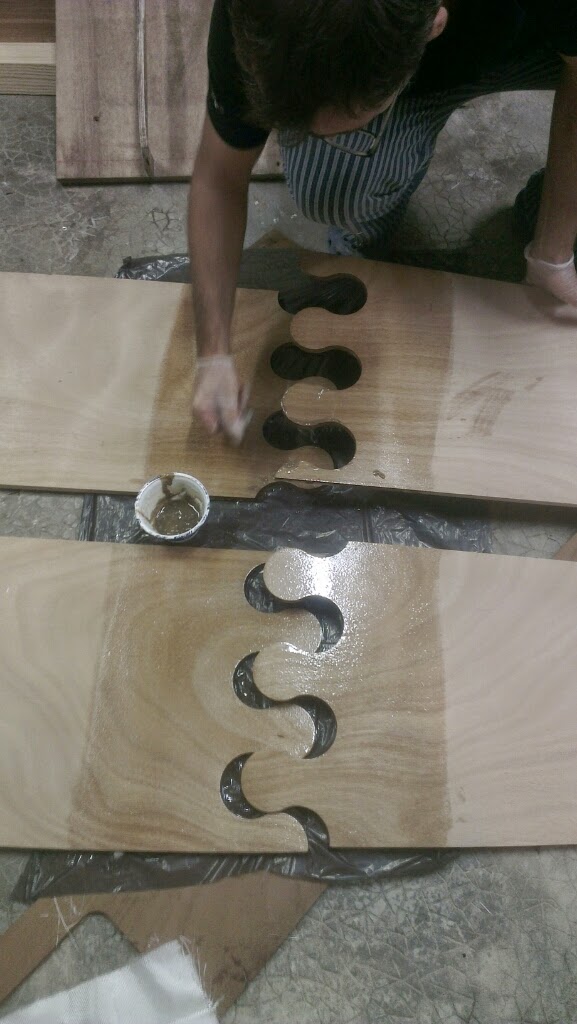
Now going back to the pathfinder I have opted to cut out hand-made wooden hatches. They require a "window" to be cut out of the receiving surface. Then a further piece is tailored to obtain the frame with lip where a soft neoprene seal will be glued to providing the seating for the closing lid. Then of course last but not least the lid itself.
In order to cut the same shape over and over again with different scale factors, I have first made a template window on a 10mm MDF sheet, taking into account the required offset to match the diameter of the router template follower that came with my new Bosch router. I then cheaply sourced suitably sized ball bearings to mount onto the template follower to obtain different offsets and therefore the correct scaling factors to match the three cuts, i.e; the opening, the locker lid and the inner frame.
The results are very satisfactory, the obtained offset cuts are correct as the lid fits to the hatch opening with a 1mm clearance all around as expected. The seal seating measures 13mm wide which I think should be enough surface to allow the neoprene seal to work correctly.
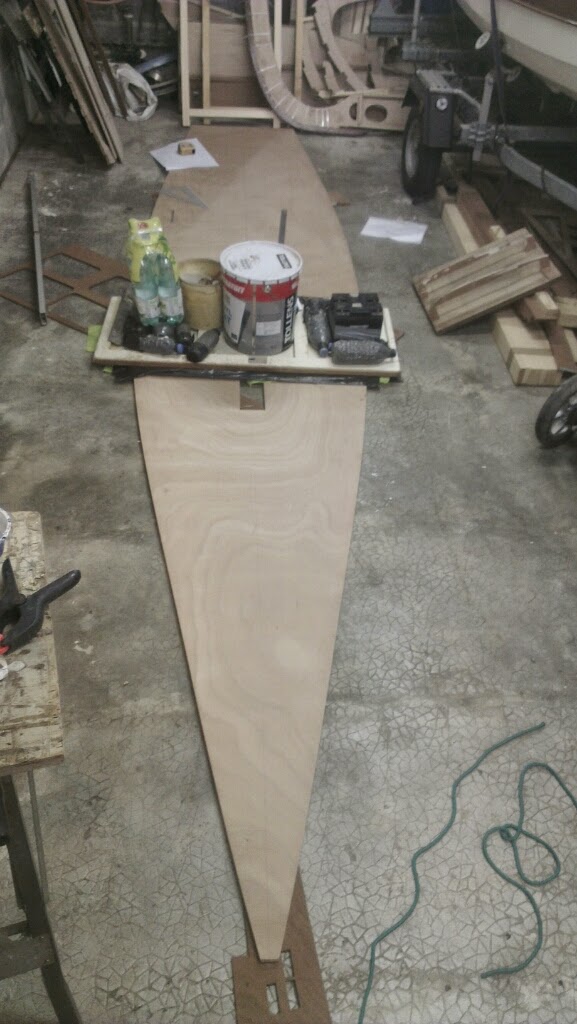
Here is the resulting seat fronts with the two hatches cut out and dry fitted. The hatches will be clear varnished while the seat fronts will be painted ivory or cream. The lids will receive stainless steel hinges and locking knobs.

The size of the opening has been carefully tailored to allow loading and accessing of essential items, such as the one pictured below ;)

At present I have cut the hatches on the seat fronts and bulkhead #1 as these components will soon be installed permanently on the building frame.